Hello,
this is my summary of how to start programming ESPboy, explaining the first steps and how to solve some issues that may appear. Hopefully this can serve as a quick start guide to some new users. This is not an official tutorial but rather my personal experience.
NOTE: This is for older version of ESPboy, which has some shortcomings. These should be fixed in newer ESPboys.
So I received my ESPboy, it was soldered so I turned it on and tested the preinstalled program – do this first.
Then I just had to put on the cover. Funnily what took me some time was figuring out how exactly to apply the button springs. Eventually I arrived at this:

However some buttons weren’t registering because the screws were a tiny bit too short, which I fixed by putting a piece of paper underneath the board 
Then I wanted to start programming. The first step is to set up the Arduino IDE. You do it like this:
-
Download it from here.
-
Run the IDE and go to File->Preferences and add http://arduino.esp8266.com/stable/package_esp8266com_index.json to Additional Board Manager URLs.
-
Go to Tools->Boards->Boards Manager, search for esp8266 and install it.
-
Once installed, go to Tools->Boards and select the one named LOLIN(WEMOS) D1 R2 & mini. Make sure you select exactly this one as I faced big issues by accidentally selecting a different board.
-
Now go here, download the repository and extract it to your library directory, e.g. ~/Arduino/libraries on GNU/Linux. These are the exact versions of libraries tested for programming ESPboy. If you’re more experienced, you can try to install newer versions of these libraries from the library manager in Arduino IDE, but you may encounter issues, so if you’re new, just copy the files above.
-
Finally test it’s all set up correctly by cloning ESPboy_FirstTest, opening the project in Arduino IDE and compiling with Sketch->Verify/Compile. If the compilation finishes without errors, you should be set.
Now when you can compile programs, you need to upload them to ESPboy to run them on the device itself. To do this, you connect ESPboy with the USB cable to your computer. Once you do that, a new device should appear in Arduino IDE under Tools->Port (for me it’s /dev/ttyUSB1). Click on that device to select it. To upload your program now select Sketch->Upload.
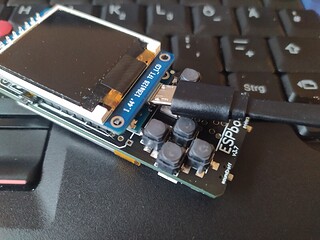
If the new device doesn’t appear after connection, don’t panic! This happened to me and the reason was that in my version of ESPboy there are 2 USB ports, one on the side, which is only for charging, and another one underneath the display, which is for programming. The side USB will be usable for programming in new versions, but if it doesn’t work for you, you need to connect it to the other one. You can do this hardware mod to enable programming via the side USB.
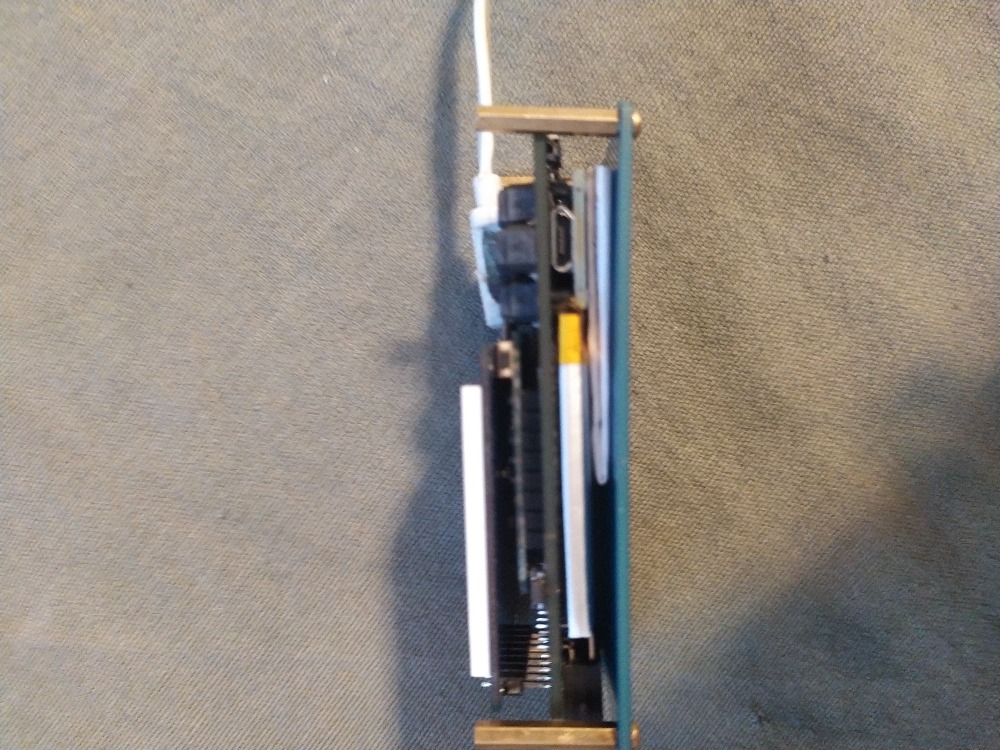
If you’re now unable to fit the USB cable to the programming USB, don’t panic! This happened to me too:
This should also be corrected in new versions, but if you have the older one, you need to take a cable and “mod” it a little bit with a knife so that it fits (Or implement the above mentioned mod). Like this:

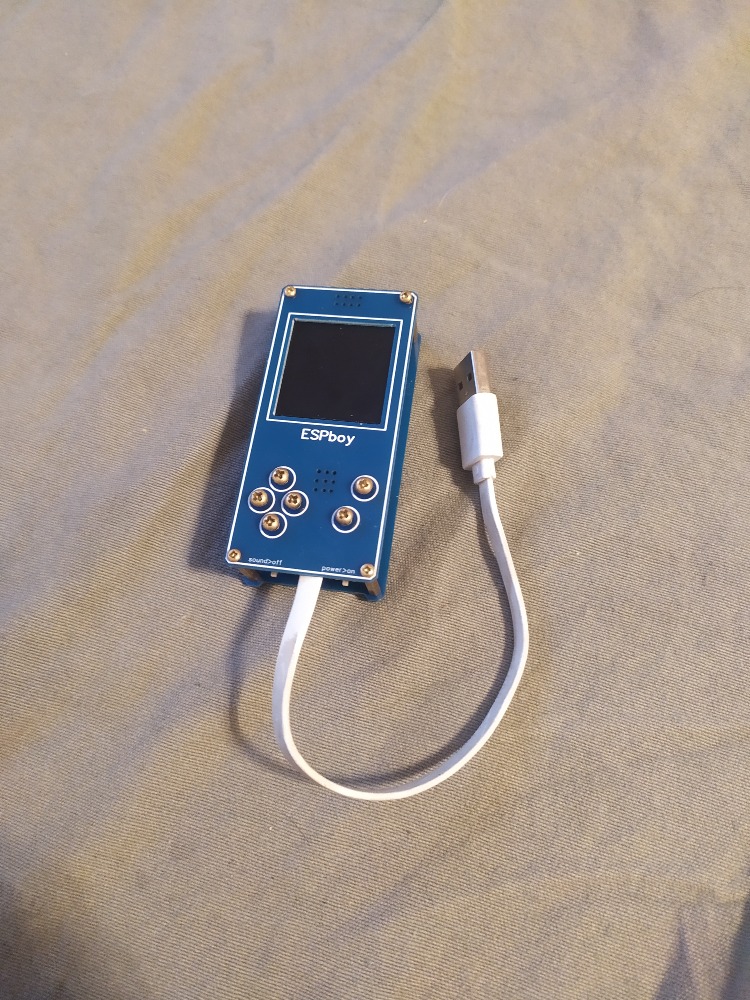
Personally I’ve left the cable plugged in all the time for easy programming.
That’s it, now everything is set up for the development. Happy programming!